A1220 MONOLITH 3D – Thickness Measurement & Flaw Detection
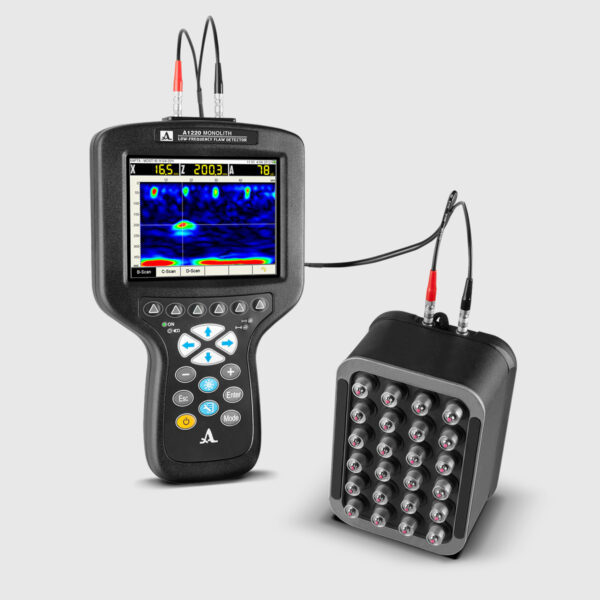
A compact handheld ultrasonic pulse velocity and pulse echo tester is designed for ultrasonic thickness measurements and flaw detection of concrete and reinforced concrete constructions and rocks.
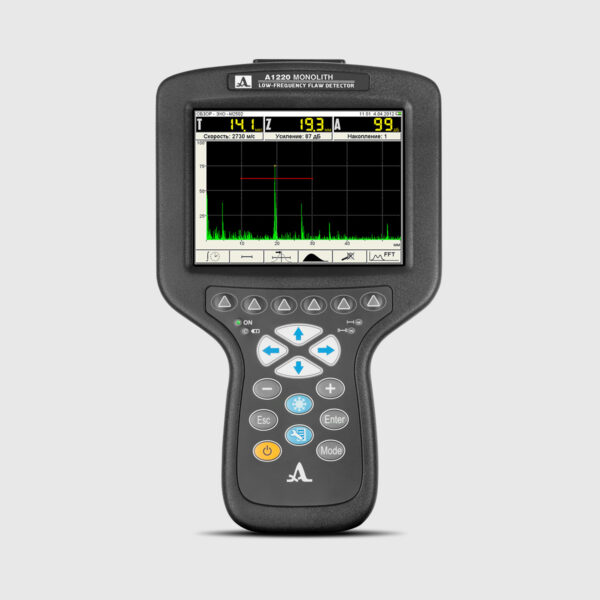
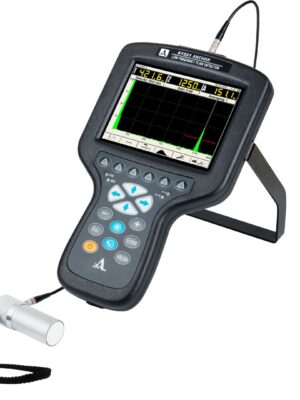
The flaw detector represents a compact electronic unit equipped with a large high-contrast TFT display and a keyboard.
Despite multifunctionality, the instrument is easy to use due to its intuitive interface and icons menu providing quick access to the main settings and functions of the instrument.
PRODUCT DESCRIPTION
A compact handheld ultrasonic pulse velocity and pulse echo tester is designed for ultrasonic thickness measurements and flaw detection of concrete and reinforced concrete constructions and rocks.
The flaw detector represents a compact electronic unit equipped with a large high-contrast TFT display and a keyboard.
Despite multifunctionality, the instrument is easy to use due to its intuitive interface and icons menu providing quick access to the main settings and functions of the instrument.
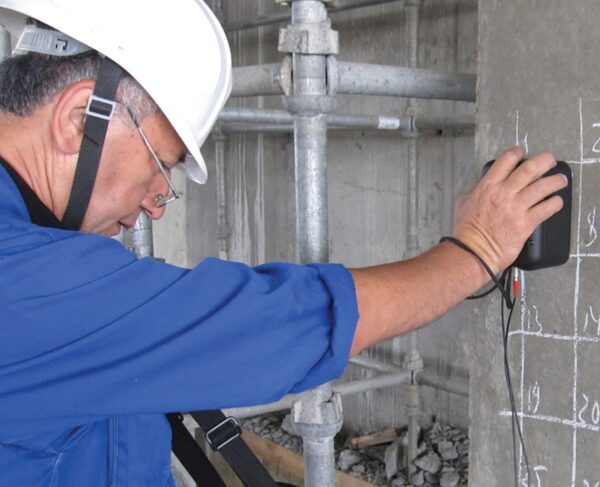
The ergonomic design of the flaw detector and its lightweight (as little as 800 grams), as well as the capability of fastening the electronic unit in the specialized pad, provide convenient operation of the instrument in hard-to-reach areas and allow its working at height.
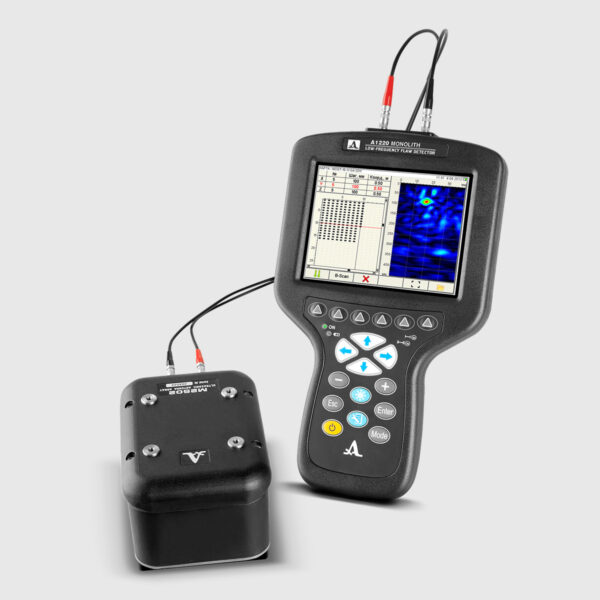
All inspection results are recorded into the instrument’s memory and can be transferred via the USB port to the external PC for further processing, registration, and archiving.
APPLICATION
Using one low-frequency dry point contact antenna array M2502 0.05A0R100Х60PS with shear wave and nominal frequency 50 kHz allows carrying out thickness measurement of concrete objects up to 3,000 mm and reinforced concrete objects up to 600 mm.
The instrument allows the to operator search for internal foreign inclusions, cavities, voids, and cracks of the products and constructions made of reinforced concrete, stone, and similar materials at one-sided access as well as search for embedded flaws in bronze castings.
It is possible to test the internal structure of the coarse-grained materials.
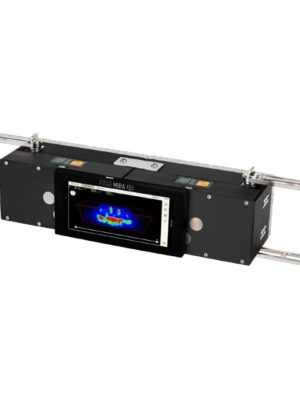
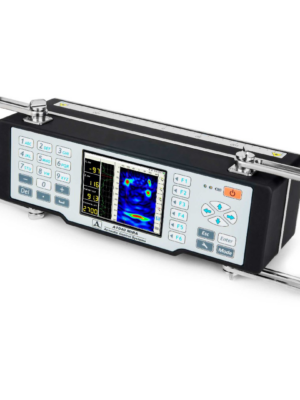
The results of the inspection are slice and projection images by grid-scan function (B-Scan, C-Scan, D-Scan, thickness-profile) – visualization software INTROVIEW.




Reviews
There are no reviews yet.