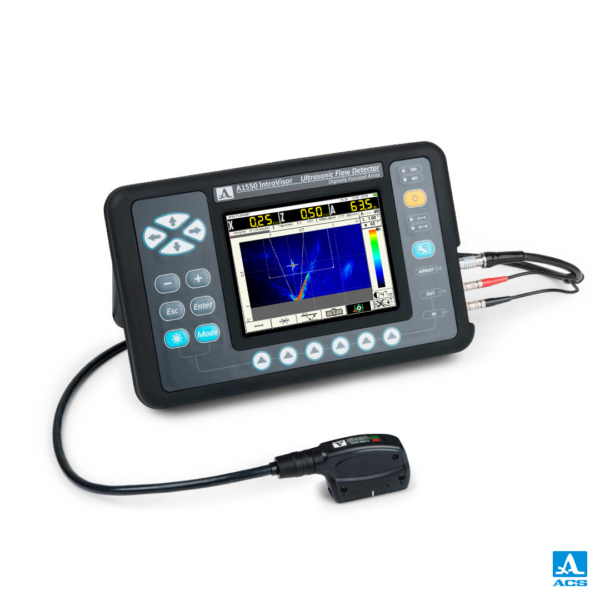
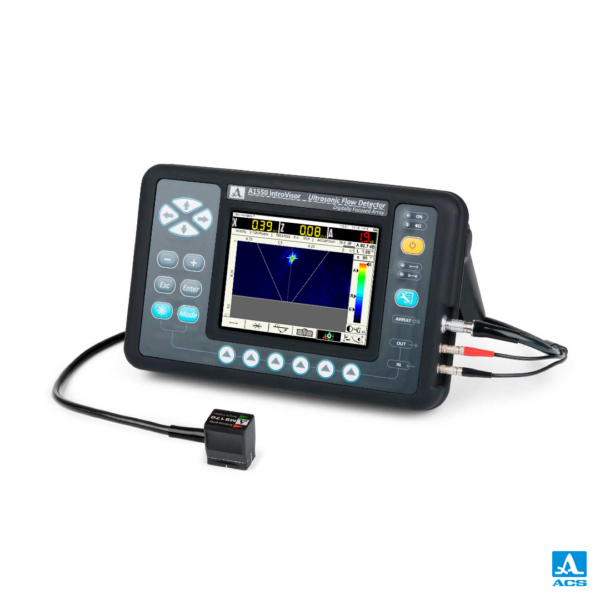
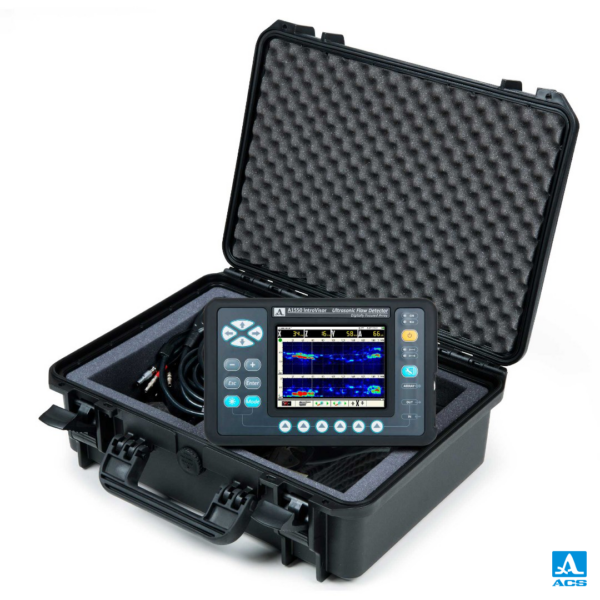
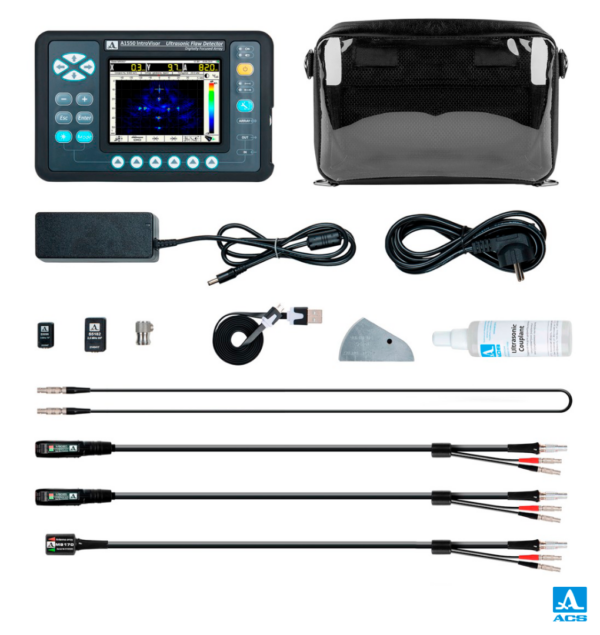
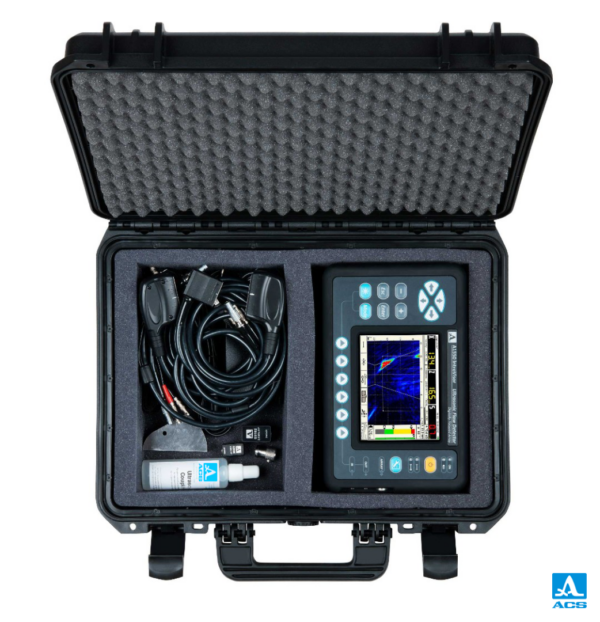
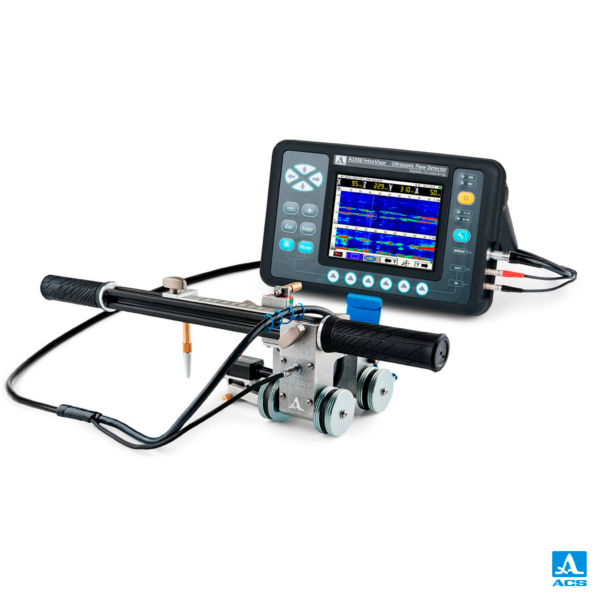
A1550 IntroVisor Ultrasonic Flaw Detector
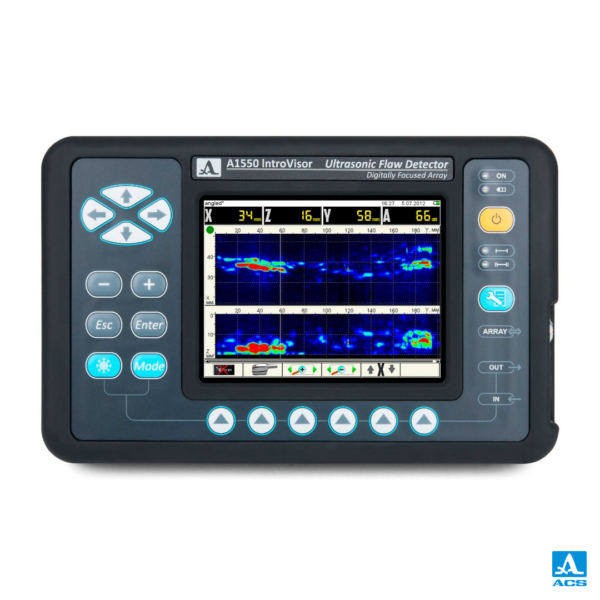
The universal portable ultrasonic flaw detector-tomograph with TFM technology (Total Focusing Method) visualizes the internal structure of the object as real-time section imaging (B-Scan) making the results interpretation much easier than with a traditional flaw detector.
The tomograph uses various types of phased array transducers comparable by size to traditional transducers. Thanks to our special signal processing algorithms a phased array probe substitutes a whole kit of standard transducers traditionally used for testing.
Product successfully added to the Quote List
PRODUCT DESCRIPTION
The universal portable ultrasonic flaw detector-tomograph with TFM technology visualizes the internal structure of the object as real-time section imaging (B-Scan) making the results interpretation much easier than with a traditional flaw detector.
The tomograph uses various types of phased array transducers comparable by size to traditional transducers. Thanks to our special image reconstruction algorithm the PA transducer substitutes a whole kit of standard transducers traditionally used for testing.
A1550 IntroVisor operates based on the principle of TFM virtual focusing on every point of the visualized section, providing high efficiency and the best results for spatial resolution and sensitivity.
The А1550 IntroVisor tomograph is designed to meet the challenge of quick and efficient flaw detection at metal, plastic, and composite objects with detailed documentation of the results.
Special software for 3D reconstruction of the welding joints
APPLICATION
Weld joints inspection.
Locating corrosion, cracks, internal stratification, and other flaws.
locating and sizing up flaws (discontinuities and inhomogeneities) in metal and plastic objects.
Thickness measurement.
Real-time imaging of the object’s internal structure.
Option to use various types of ultrasonic waves:
-shear waves to inspect welds overlapping angular range used by standard methods of ultrasonic testing;
-longitudinal waves to inspect base metal.
Enhanced resolution and sensitivity. Possibility to measure discontinuity flaw size.High testing efficiency.
Can operate as a tomograph (B-Scan) and as a traditional flaw detector (A-Scan).
Weld joints scanning mode (C-Scan) with saving results to memory.
Reflecting images of vertically oriented flaws.
Related products
-
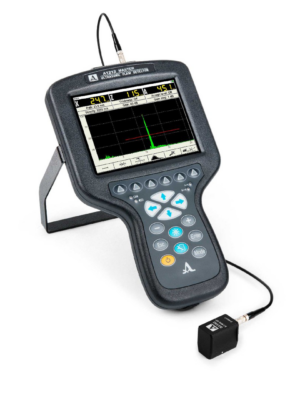
A1212 Master Ultrasonic Flaw Detector
Product successfully added to the Quote List
-
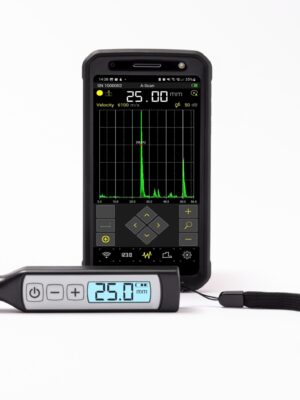
A1207 PENGAUGE – Pocket-size Ultrasonic Thickness Gauge
Product successfully added to the Quote List
-
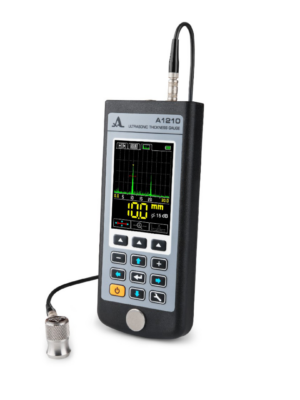
A1210 Digital Thickness Gauge
Product successfully added to the Quote List
-
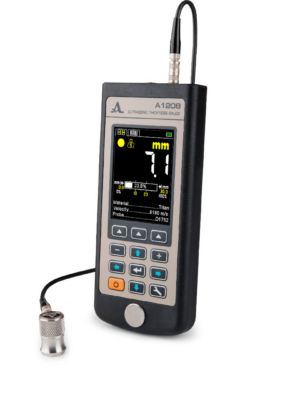
A1208 Ultrasonic Thickness Gauge
Product successfully added to the Quote List




Reviews
There are no reviews yet.